Showing posts with label Organization. Show all posts

Sunday, December 03, 2006

There is No Excuse

The dust has finally settled. The workers have long gone. After weeks of living like a nomad, moving from room to room, as the renovation progressed, I can say, I am finally home.

I have a spanking new bathroom. New pin lights in all the rooms of the house. New shelves and bookcases. And just for me, a new place to scrap. Of course, I was also left with a monumental bill and massive cleaning up to do, but even that has slowly been dealt with. Everything now has a place and everything is in its place.

Now I have to really get scrapping. There is no excuse.


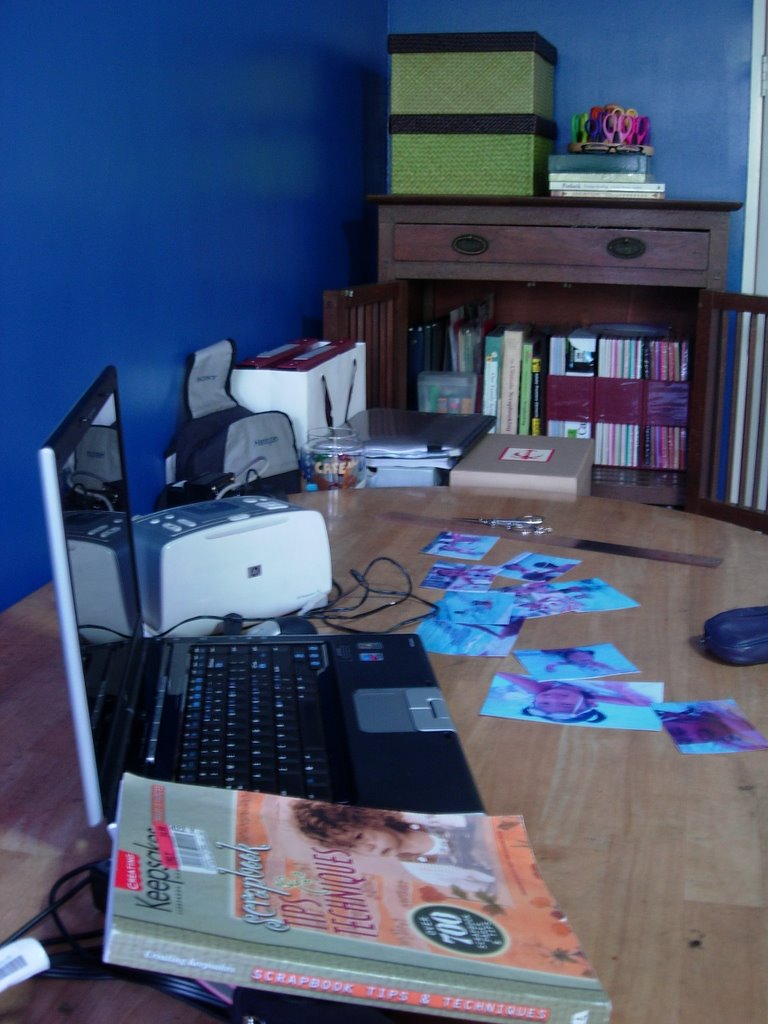
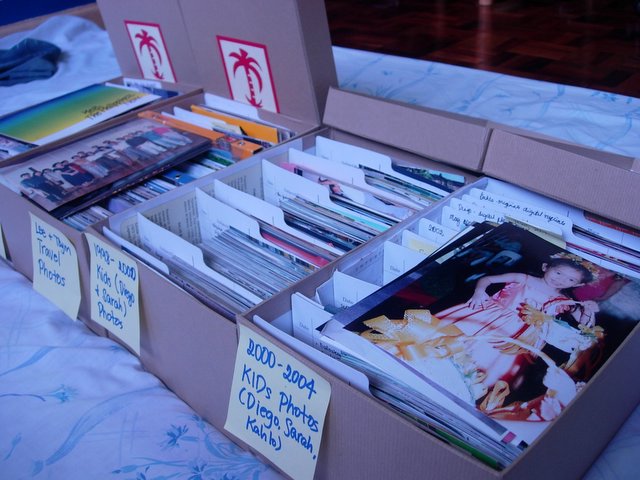
This used to be where I scrapped. A small dining table and galinera in the masters' bedroom.

Let me just share my new corner, at the third floor attic, with you.

All my stickers and other embellishments are safely tucked away in clearbooks. My foam stamps and colluzles are in the mini-file drawers. So are my 8.5x11 cardstock. My acrylic paints are in clear containers on the shelf with the decorative scissors. I tried to have everything within sight and within reach so I will remember to use them.


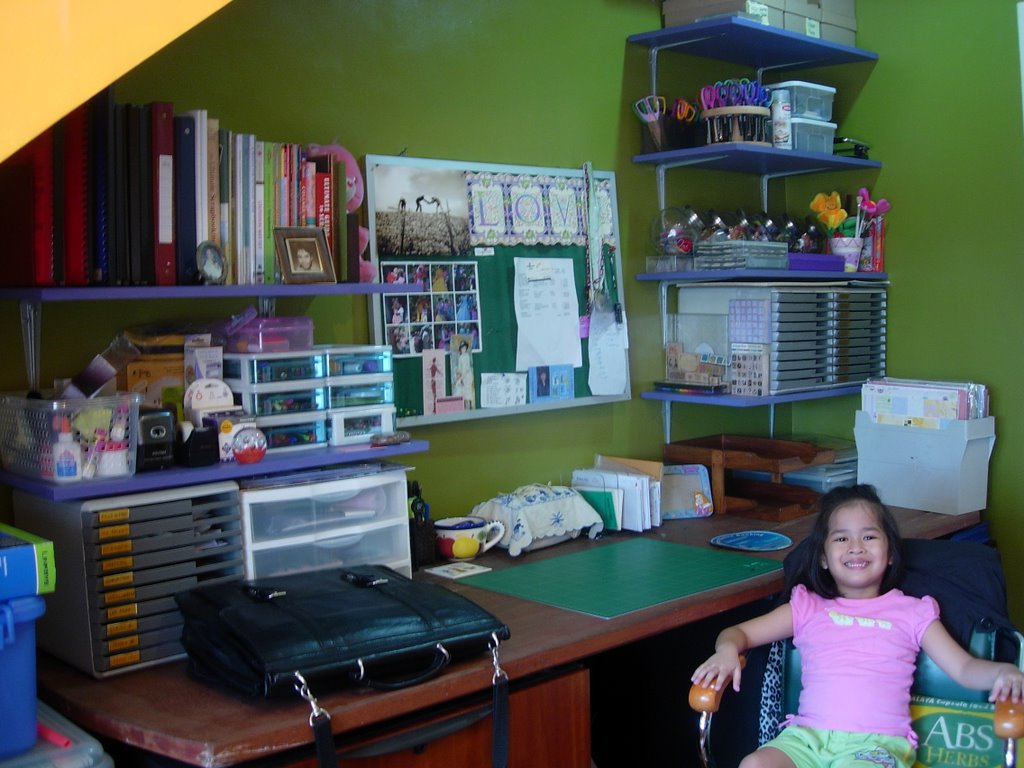
My daughter is a cute addition but hopefully when I scrap, she will be busy with her own stuff.


I had special racks with doors made for my patterned paper and cardstock, but until they are ready, this shelf will have to do.


What few ribbons and fibers I have are prettier displayed. Candy jars from Japan Home Store (P88.00).


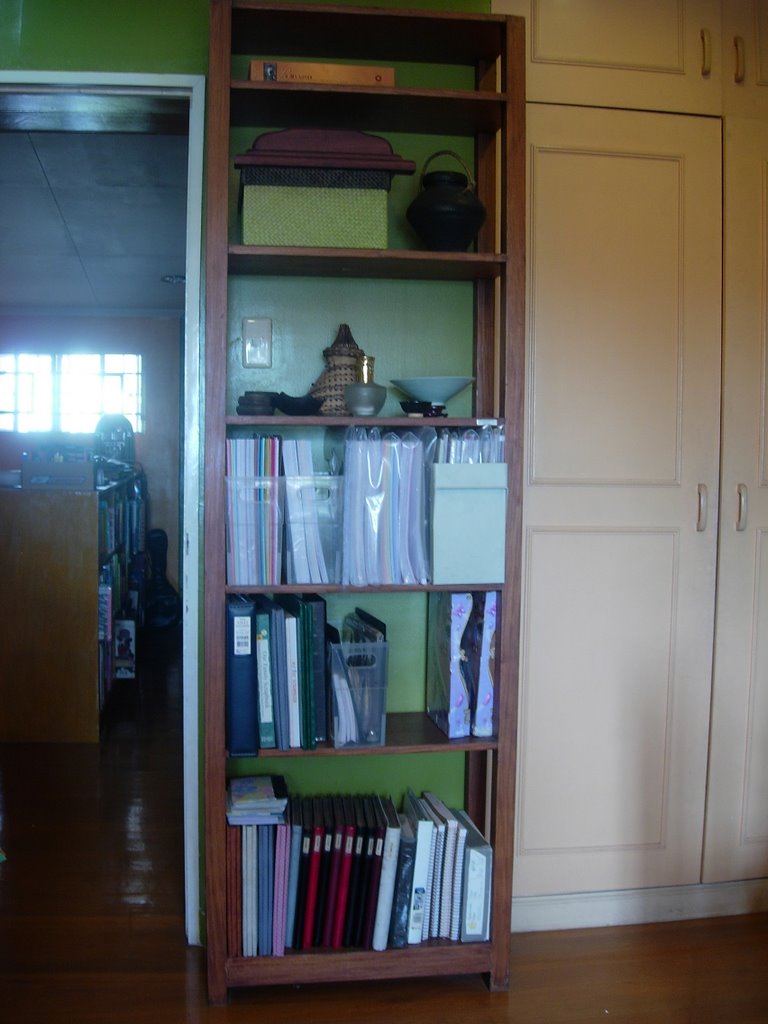
New books and magazines should provide inspiration.


Look, Ma. Frango mints.

With my stash of CS, PPS, acrylic paints, coluzzle alphabet templates and foam stamps (ordered compulsively from joanns.com) my craft fairy sister sent me two boxes of Frango mints. With the agreement that I should reward myself with a mint for every layout I finish.

One layout: one mint. So if I want them chocolates (and God, how I want them...) There can be no excuse. Really!

Thursday, August 24, 2006

The Great Digital Divide

As I was placing my negatives into airtight containers, I thought, what a boon it would be if all my photos were in digital format. I can then easily retrieve, edit, crop and print out photos as needed. Compact discs are also said to last a hundred years, so I will be ensuring that my mementos will last longer.

So I set out to scanning my negatives into my computer. My Microtek ScanMaker 4900 comes with a film adapter. Of course, a scanner dedicated to slides and negatives is better but I have to make do with what I have.

I plan to make prints out of my digital files so I have to scan using resolution and scale high enough to be able to print decent 4x6 photos, at least. As negatives are small (35 mm) I will have to scan them at 2000-3200 ppi. This will allow for prints that are not pixelised or sabog.

However, because of the huge bytes required, it takes at least 25 minutes to scan one shot. Now, I don't want to spend the rest of my life glued to the scanner, so I had to figure out another way to get my negatives into disks.


From film to CD

Many photo shops in Manila already offer this service. So I called around for the prices. Below, I am sharing with you the results of my badgering the sales clerks.

Columbia Photo

1st 3 rolls -– P295
Succeeding roll -– P75
W/ 36 photo index -– add P50
More than 36 shots (considered contact print already) -– add P120
File size: 1.44 MB

Island Photo

40 pictures -– P150
3 rolls -– P350
W/ index
File size: 72 kb

Kameraworld
Per roll -– P195
Index -– P75
File size: 300 kb
10% discount negotiable

Picture City
1st roll -– P125
Succeeding rolls -– P100
Free index
File size: 2,048x3,072 kb

I had to rule out Island Photo and Kameraworld immediately because of the low scanning resolution. 72 kb is only good enough for website viewing and 300 kb is not good enough if I wanted to edit and blowup my prints.

Between Columbia and Picture City, Columbia is cheaper, but I want index prints to go with my CDs so I can easily see the contents without popping it in the computer. Picture City provides the index for free. You have to pay an additional P50 - P120 at Columbia.

So in this case, Picture City is my logical choice. However, when you avail of this service, you have to stress to the sales clerk that you want your resolution set at 2048x3072 kb. When I had my first batch of negatives scanned to CD, it came back at around 500 kb per file. Nowhere close to the promised figures. Scanning at lower resolution is quicker work and some people will take shortcuts. So make sure you get your money's worth.

Here's a tip for those who are still using film cameras (which I personally feel still produce the best prints). If you are not sure that you want all your shoots developed, just have the roll developed first. You can have only the shots you are happy with printed. Developing fee is only P50. That saves money on bad shoots. Then if you want them converted to digital format, just add P100 and you get a CD and index print.

P.S. I have put on hold my digitization project. When I computed the costs, I will be spending at least P10,000 for the hundred or so rolls of negatives I have. Maybe I should just go back to scanning manually.

Wednesday, August 23, 2006

Saving my Photos

During the 4-6 weeks (I've lost count) that the balikbayan box was in transit, I decided to do some organizing. In preparation for some serious scrapbooking, I finally committed myself to rescuing my photos from the magnetic albums. The least I could do was to stop the deterioration now.

I was able to get photo boxes from Save on Surplus in Marikina Riverbanks for only P100 each. I figured all I had to do was remove the photos from the albums and file them in the boxes chronologically.

 
Only four boxes of the kids' photos to scrap? Not really. Digital photos not yet included.

Removing the photos from the albums was not easy. The glue was very sticky and I had to be really careful not to accidentally tear the photos. I used a mini spatula to lift the photos and where they were most stubborn, I used dental floss. Some adhesive was left at the back of the photos and I got rid of those by wearing a sock in my right hand. I would then patiently rub the adhesive off. It wasn't easy. Then some photos curled up around the edges so I had to place them under a three-volume dictionary to straighten them up.

All in all, it was a mind-numbing process. I'm glad that I had American Idol Season 5 to keep me company throughout. It took me longer than I planned, too. As I filed the photos, I also made notes on dates, names, etc. for future journaling.

After the photos were safely tucked away, I turned to working on the negatives. Here's a tip: It is more important to preserve the negatives because these are the original shots. The photograph is just a copy of the negative. So it pays to also keep the negatives for posterity.

I wasn't as conscientious in storing the negatives as I was with my photos. And I had thrown out the envelopes they originally came in so I had to guess the dates when they were taken. I strained my eyes peering at the negatives to figure out the whos, whats, wheres and whens.

I also wanted to transfer the negatives to acid-free sleeves but these are not available in the Philippines. So in the meantime, I slipped my negatives, sequentially arranged, in a three-ring binder. That will have to do for now.

 
Saving the negatives as well

There is a certain satisfaction in knowing that there's a place for everything and everything is in it's place. And as Taylor Hicks sang his winning song, I carefully and lovingly placed my photo boxes and ring-binders in storage. Posted by Picasa